The Ultimate Guide to Cooking Chickpeas: Dried, Canned & Foolproof Methods
Learning
how to cook chickpeas perfectly is a culinary skill that transforms your dishes. Forget the often bland, firm, or overly salty canned varieties; home-cooked chickpeas offer a superior, nutty flavor and a wonderfully creamy texture that elevates everything from hummus to hearty stews. This comprehensive guide will walk you through preparing both dried and canned chickpeas, ensuring tender, flavorful results every single time. Get ready to unlock the full potential of this versatile, nutritious legume!
Why Cook Chickpeas from Scratch? The Unbeatable Difference
There's a significant difference between chickpeas cooked from scratch and their canned counterparts. When you learn
how to cook chickpeas from dried, you gain control over the flavor, texture, and even the sodium content. Freshly cooked garbanzo beans boast a distinctly nutty, buttery flavor and an incredibly creamy, tender texture that simply can't be matched by most canned options. This superior taste and mouthfeel make them perfect for showcasing in recipes where chickpeas are a star ingredient, like a silky smooth hummus or a rich, aromatic curry.
Beyond the taste, cooking chickpeas from scratch is often more cost-effective, especially if you consume them regularly. They are a powerhouse of nutrition, packed with protein, fiber, and essential minerals, making them a fantastic addition to any wellness program. From adding them to vibrant salads and robust stews to creating delicious snacks, mastering the art of cooking dried chickpeas will open up a world of culinary possibilities, far surpassing the convenience of a can.
Preparing Dried Chickpeas: Your Journey to Culinary Excellence
The secret to perfectly cooked chickpeas begins long before they hit the pot. Careful selection and proper preparation are key to achieving that ideal creamy texture.
Choosing and Preparing Your Chickpeas
*
Quality Matters: Start with good quality dried chickpeas. Look for beans that are uniform in color and size, and ideally, haven't been languishing in your pantry for more than a year. Older chickpeas can take significantly longer to cook and may not achieve the desired creaminess.
*
Sort Carefully: Before doing anything else, spread your dried chickpeas out and inspect them. Remove any small stones, damaged or discolored beans, or other debris that might have snuck into the bag. This simple step prevents unwelcome surprises later on.
The Essential Pre-Soak: A Game Changer
Soaking dried chickpeas is a non-negotiable step for several reasons: it rehydrates the beans, significantly reduces cooking time, and contributes to a more evenly cooked, tender result. This is where a secret ingredient truly shines!
Here’s
how to cook chickpeas using our recommended soaking method:
1.
Combine Ingredients: For approximately 2 cups (about 1 pound) of dried chickpeas, place them in a very large mixing bowl. Chickpeas will double, if not triple, in size during soaking, so choose a bowl that can accommodate this expansion.
2.
Add Liquid and Seasoning: Cover the chickpeas with at least 6 cups of fresh water. Stir in 1½ tablespoons of kosher salt and, crucially, 1½ teaspoons of baking soda.
3.
The Baking Soda Advantage: The baking soda is your secret weapon for achieving truly creamy, tender chickpeas. It helps break down the pectin in the chickpea skins, allowing for a softer texture without making the insides mushy. If you're using table salt instead of kosher salt, remember to halve the amount, as table salt is finer and saltier by volume.
4.
Soak Thoroughly: Let the chickpeas soak at room temperature for 8 to 24 hours. The longer soak can often lead to even creamier results.
5.
Rinse: Once soaked, drain the chickpeas thoroughly and rinse them under cold running water until no foam remains. This washes away the baking soda and any released starches.
For a deeper dive into these techniques and to understand the science behind them, check out our article on the
Secret to Creamy Chickpeas: Baking Soda, Soaking & Storage Tips.
Foolproof Methods for Cooking Dried Chickpeas
After a proper soak, your chickpeas are ready for cooking. We’ll cover three reliable methods: stovetop, Instant Pot, and slow cooker, each offering distinct advantages depending on your time and preference. In all methods, remember to drain and thoroughly rinse your pre-soaked chickpeas before cooking.
Stovetop Method: The Classic Approach
The stovetop method is traditional and offers excellent control over the cooking process.
1.
Prepare the Pot: Place the drained and rinsed chickpeas in a large, heavy-bottomed pot.
2.
Add Water and Salt: Cover the chickpeas with several inches of fresh water (at least 6-8 cups). Stir in ½ tablespoon of kosher salt.
3.
Boil and Simmer: Bring the water to a rolling boil over high heat. Once boiling, reduce the heat to a gentle simmer, cover the pot with the lid slightly ajar to prevent boil-overs.
4.
Skim if Needed: During the first 20-30 minutes of simmering, you may see a white foam rise to the surface. Skim this off with a spoon.
5.
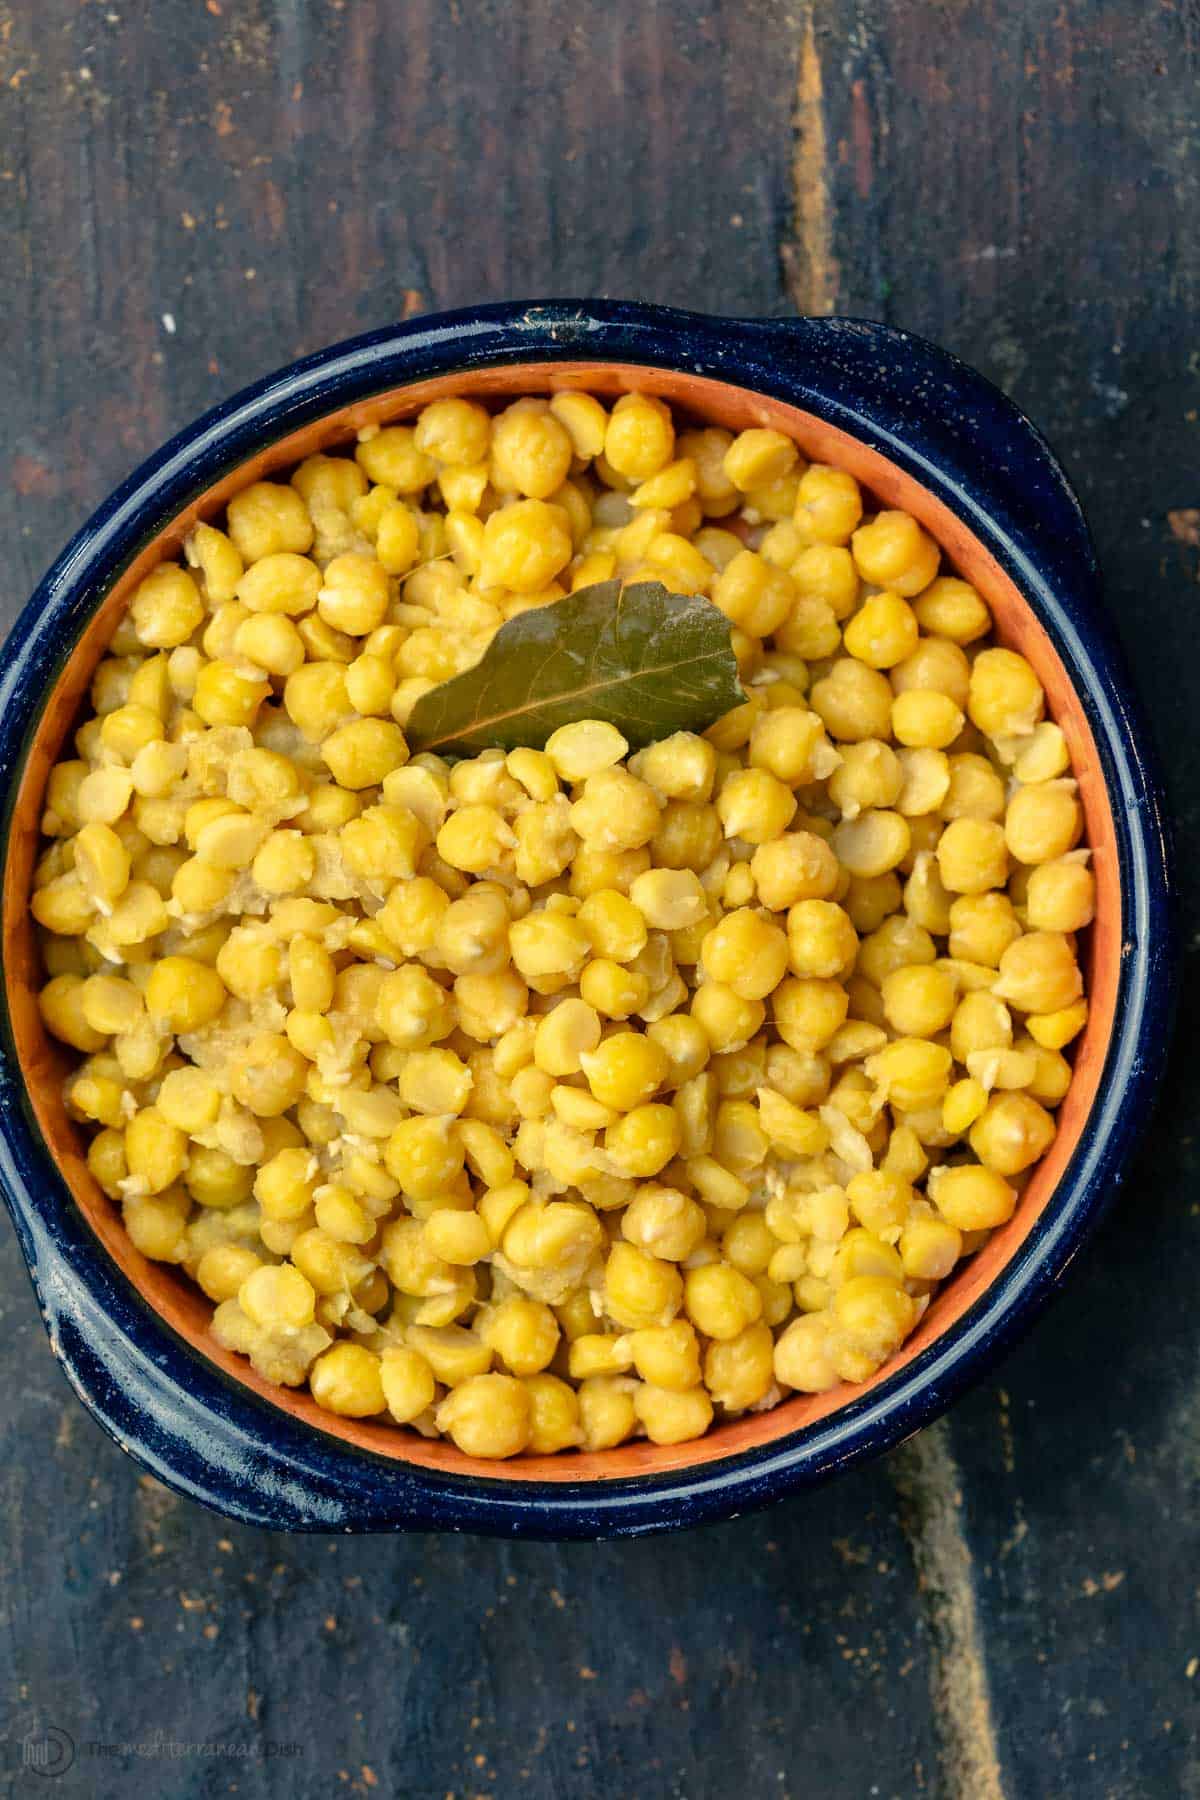
Cook to Desired Doneness: Simmer for 1½ to 2 hours, or until the chickpeas reach your desired tenderness. For hummus, you'll want them extra soft and creamy, while for salads, you might prefer them slightly firmer.
6.
Test for Doneness: To check, press a chickpea between your fingers; it should mash easily. If not, continue cooking and check every 15-20 minutes.
Instant Pot Method: Speed and Convenience
For those short on time, the Instant Pot is a game-changer for cooking chickpeas quickly and efficiently.
1.
Combine Ingredients: Place the drained and rinsed chickpeas in your Instant Pot. Add about 6 cups of fresh water and ½ tablespoon of kosher salt.
2.
Pressure Cook: Seal the lid and set the valve to the "sealing" position. Cook on high pressure for 15-20 minutes.
*
15 minutes: For firmer chickpeas, ideal for salads or roasting.
*
20 minutes: For extra creamy chickpeas, perfect for hummus or purees.
3.
Natural Release: Crucially, allow for a natural pressure release for at least 20 minutes before carefully opening the lid. This prevents the chickpeas from becoming mushy and helps maintain their integrity.
Slow Cooker Method: Hands-Off Perfection
If you prefer a truly hands-off approach and have plenty of time, the slow cooker delivers consistently tender chickpeas with minimal effort.
1.
Load the Slow Cooker: Place the drained and rinsed chickpeas in your slow cooker.
2.
Add Water and Seasoning: Add about 8 cups of fresh water and ½ tablespoon of kosher salt.
3.
Cook: Cook on high for 4 hours or on low for 8 hours.
4.
Check Doneness: Older dried chickpeas may require additional cooking time. Test for tenderness and continue cooking if needed until they reach your desired consistency.
For more details on perfecting the taste and texture of your home-cooked beans, explore our guide on
Cook Dried Chickpeas for Superior Flavor & Perfect Tender Texture.
Maximizing Flavor & Longevity: Post-Cooking Care
Proper post-cooking care is just as important as the cooking process itself to maintain the quality and extend the life of your delicious chickpeas.
Cooling & Storage Tips
*
Cool in Cooking Liquid: For the best texture, allow your chickpeas to cool down completely in their cooking liquid. This prevents them from drying out and becoming tough as they cool, ensuring they remain plump and tender.
*
Refrigeration: Once cooled, transfer the chickpeas along with some of their cooking liquid to airtight containers. They will keep beautifully in the refrigerator for up to 5 days. The liquid helps maintain their creamy texture and prevents them from drying out.
*
Freezing for Long-Term: For longer storage, portion the cooked chickpeas (again, with some of their liquid) into freezer-safe containers or bags. They can be frozen for up to 6 months. Thaw them in the refrigerator overnight before use, or gently reheat from frozen in a pot with a little extra liquid.
Using Canned Chickpeas (When Time is Short)
While cooking from dried is superior, canned chickpeas are undeniably convenient for those busy days. You can still improve their quality with a few simple steps:
*
Drain and Rinse Thoroughly: Always drain the canning liquid and rinse the chickpeas under cold water. This removes excess sodium and any metallic taste from the can, significantly improving their flavor.
*
Quick Enhancement: For a more flavorful and tender result, simmer rinsed canned chickpeas in fresh water or vegetable broth with aromatics like a bay leaf, a clove of garlic, or a pinch of cumin for 10-15 minutes. This gentle simmering rehydrates them slightly and infuses them with better flavor.
Conclusion
Mastering
how to cook chickpeas, whether from dried or by thoughtfully preparing canned options, is a truly rewarding endeavor. The superior flavor, creamy texture, and versatility of home-cooked chickpeas will transform your meals and inspire new culinary creations. By following these foolproof methods – from proper soaking with baking soda to choosing your preferred cooking technique and storing them correctly – you'll consistently achieve perfect, tender chickpeas every single time. So, grab a bag of dried garbanzos and embark on your journey to delicious, homemade chickpea perfection!